
Setting up your booking site
Your site is built from what is already in the app: your services, your hours and your photos. There is nothing to design. The booking site is part of Lunelle Pro.
Add your services
More, then Bookings, then Services, then New service. Give each set a name, price, duration and buffer, plus a description and a photo. Leave Show on booking site on for the ones clients can book.
Set your hours
More, then Bookings, then Business hours. Switch on the days you work, set the times, and block off the breaks you actually take. Nothing can be booked outside them.
Pick your address
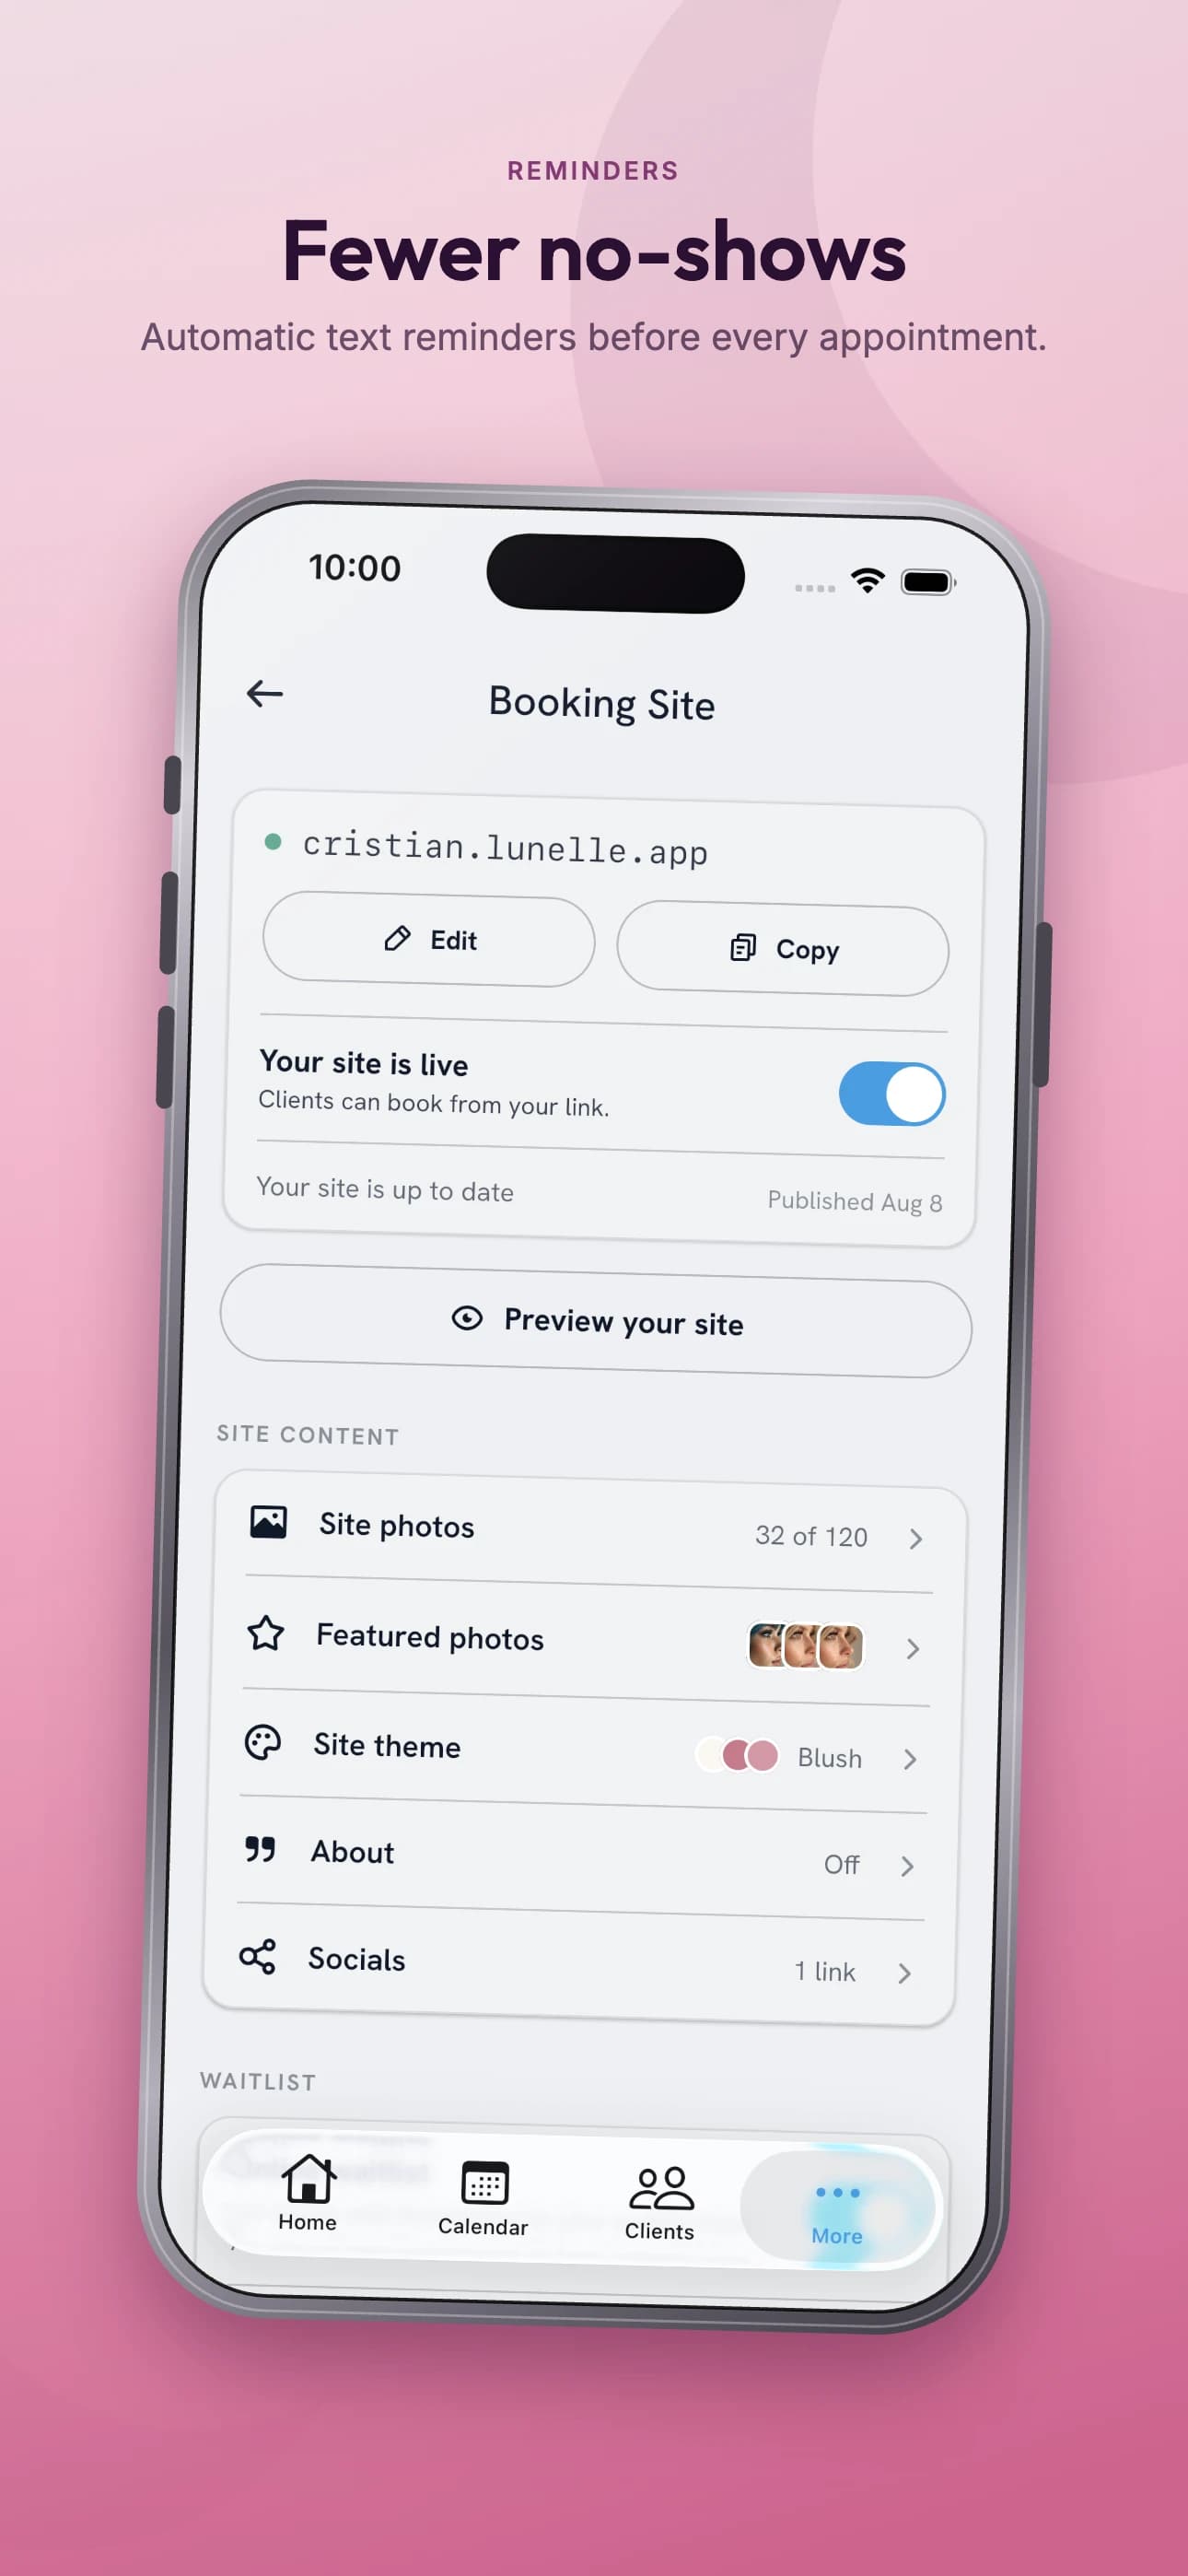
Open Booking Site, then Edit site, then Site address. Choose the name in yourname.lunelle.app. Rename it later and the old links keep working.
Make it yours
Still in Edit site, choose a Theme, write your tagline on the Home Page, and pick your Site photos and a cover under Featured. Changes save as you go.
Publish, then book yourself in
Back on Booking Site, tap Publish and switch on Your site is live. Tap Copy link, open it on your phone and book a slot as a client would. If the deposit goes through and the confirmation arrives, share the link.
More guides
Something not covered? Email support@lunelle.app.